This article will talk you through using Webmail to access and set up your new email address. To be specific we will go through logging in, changing your password and accessing the configuration screen. That will allow you to set gmail to send using your new email address. By the end of the article, you will have taken the email address and password you received after set up, changed that password, and set up gmail to send email for you using that email address. Before we go near Google, let’s get your new email configured.
Access and configure Webmail
You will have received an email containing your new email address and its password. Here we'll talk you through changing the password - you don't really want me knowing it, do you? - and setting up the email address so that you can access it in the way that's best for you.Log in to your account
First off, log in to the account by using this link: https://secureuk5.sgcpanel.com:2096/. The link opens in a new window so that you don't lose the instructions, and may sometimes be hidden by default.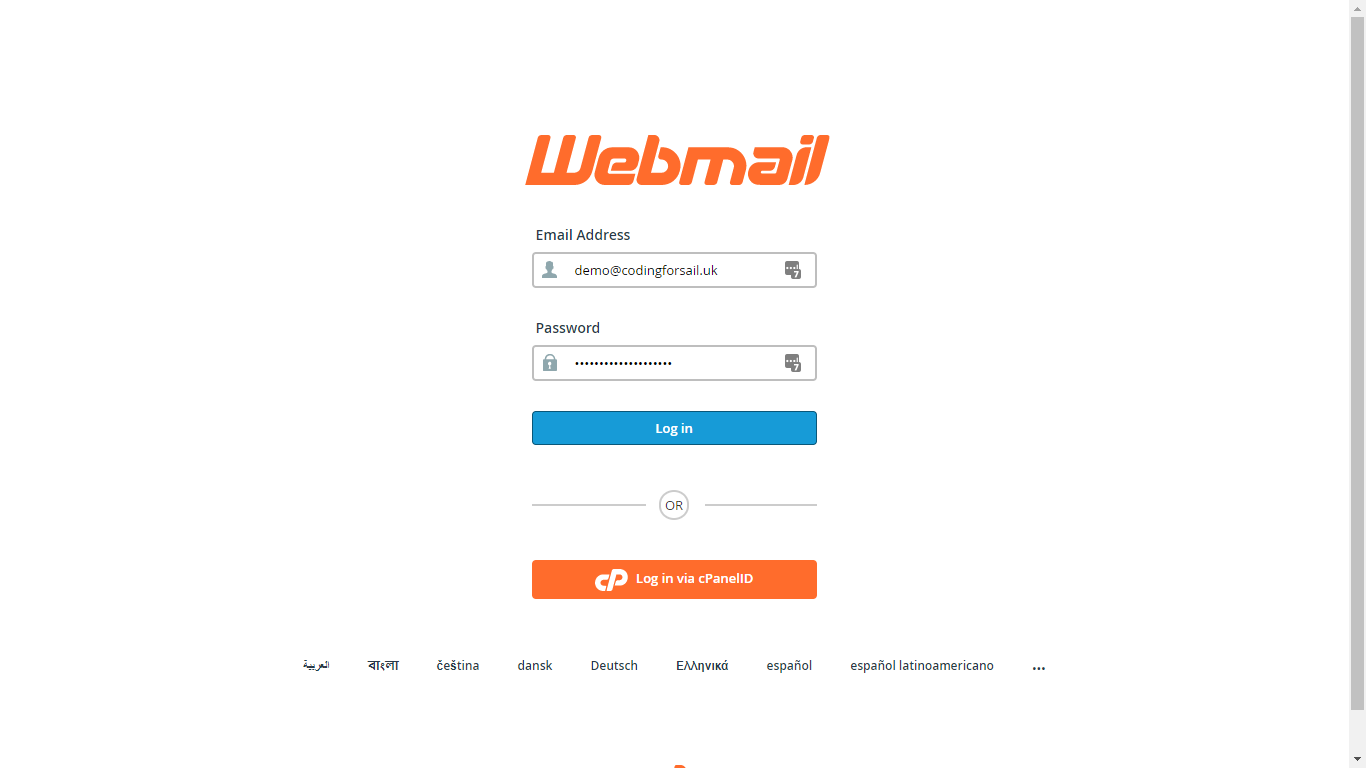 The screenshots show a dummy email address being set up. Let's imagine that [email protected] is your email address.
Enter your Email Address and the Password you have been given into the fields and press "Log in".
The screenshots show a dummy email address being set up. Let's imagine that [email protected] is your email address.
Enter your Email Address and the Password you have been given into the fields and press "Log in".
Change your password
Now that you have logged in, you should see a blue bar at the top of the screen and on the right of that bar your email address.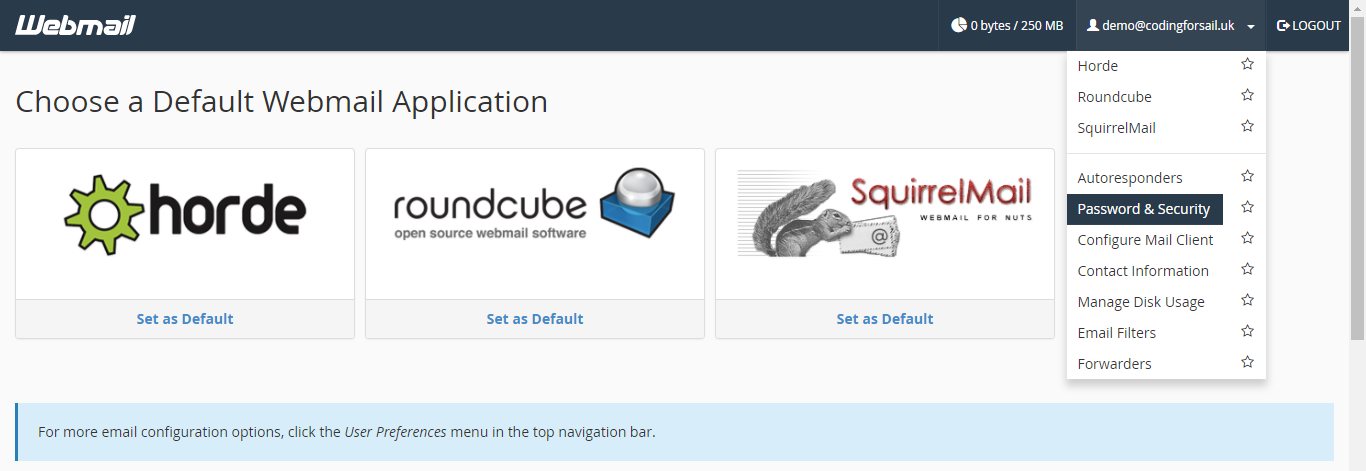 Click on the email address and then select "Password & Security" from the menu that appears.
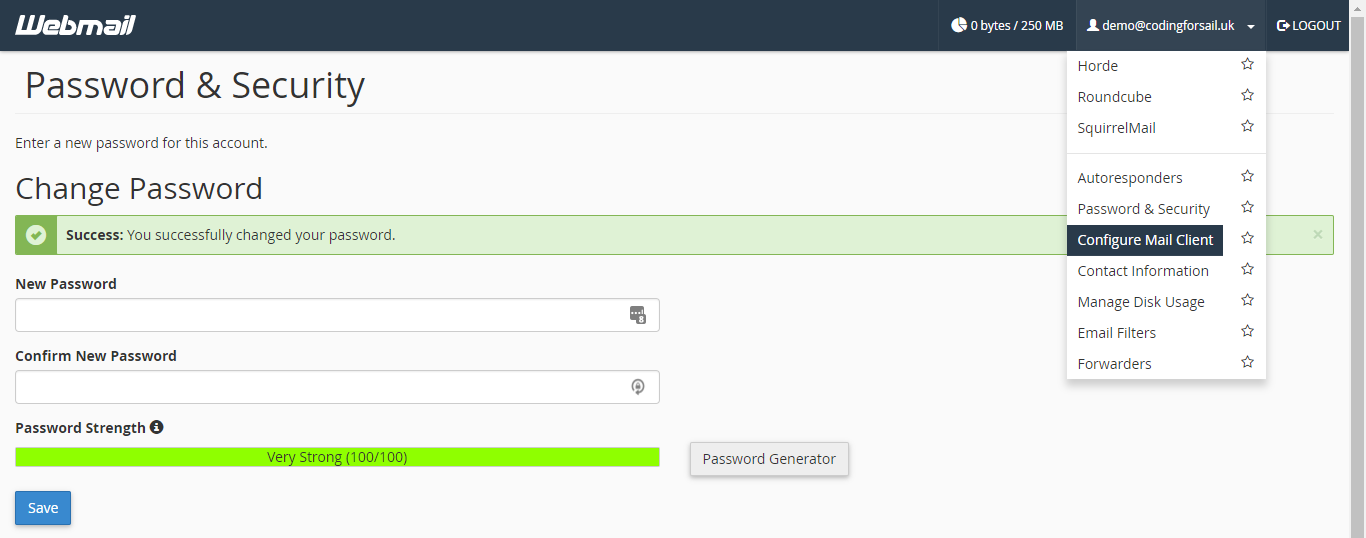
Go ahead and choose a new password and confirm it in the next field and then press Save. You should see a message stating that you changed the password successfully.
Click on the email address and then select "Password & Security" from the menu that appears.
Go ahead and choose a new password and confirm it in the next field and then press Save. You should see a message stating that you changed the password successfully.
Set up your email client
The next thing you need to do is to set up your email client. Click on the email address in the top bar again, but this time select "Configure Email Client". There are a few sections to this page.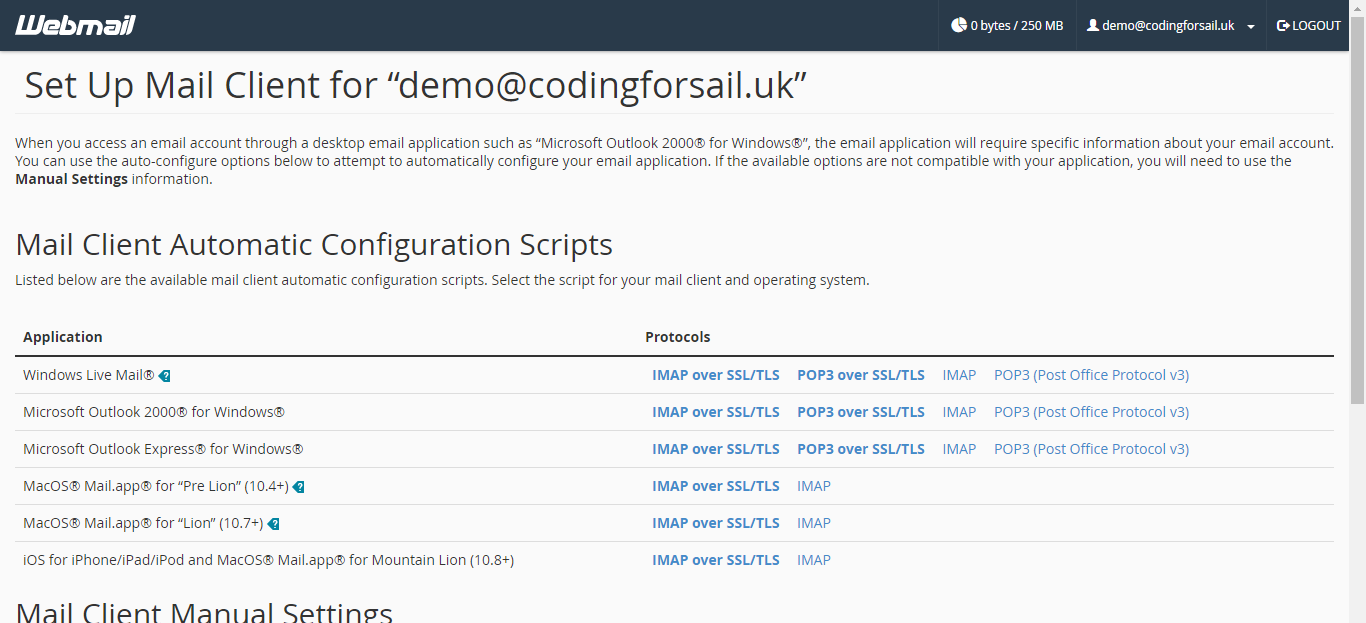 If you see the email client you want to use in the first section for automatic configuration, great. Click on the one you want and follow the instructions provided.
If not, don't worry. Read on and we'll go through setting it up manually.
If you see the email client you want to use in the first section for automatic configuration, great. Click on the one you want and follow the instructions provided.
If not, don't worry. Read on and we'll go through setting it up manually.
Set gmail to send using your new email
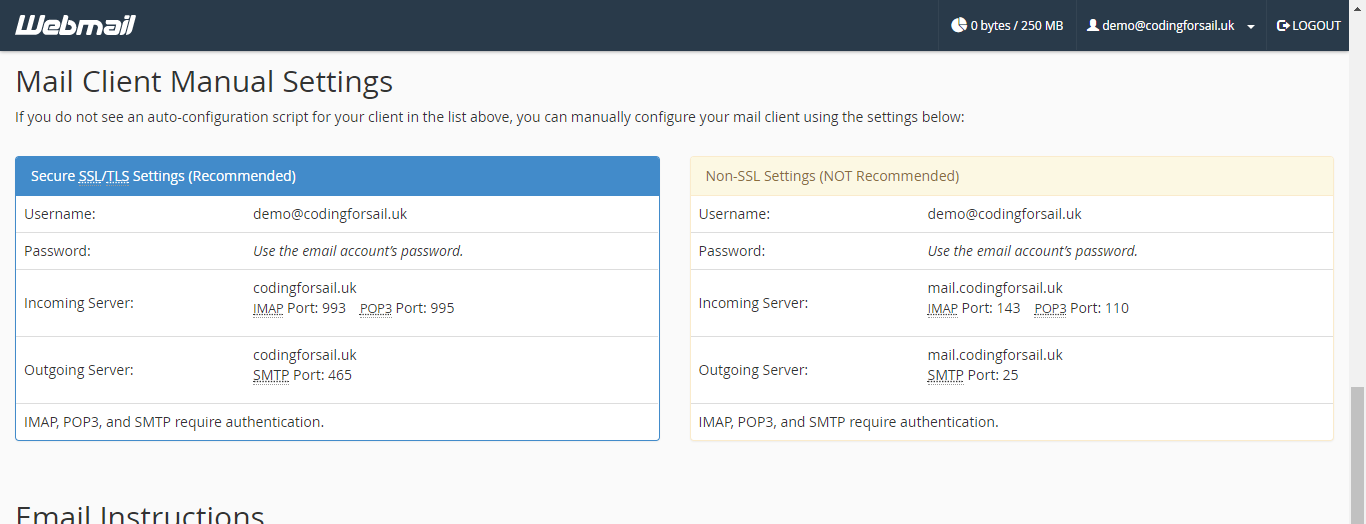
You've probably figured out by now that for Google we need to be using the manual settings. Your new email address has already been set up to forward emails to your Google email address. If you ever need to change it you can do so using the Forwarders option in the menu above.Using the manual settings to configure sending in gmail
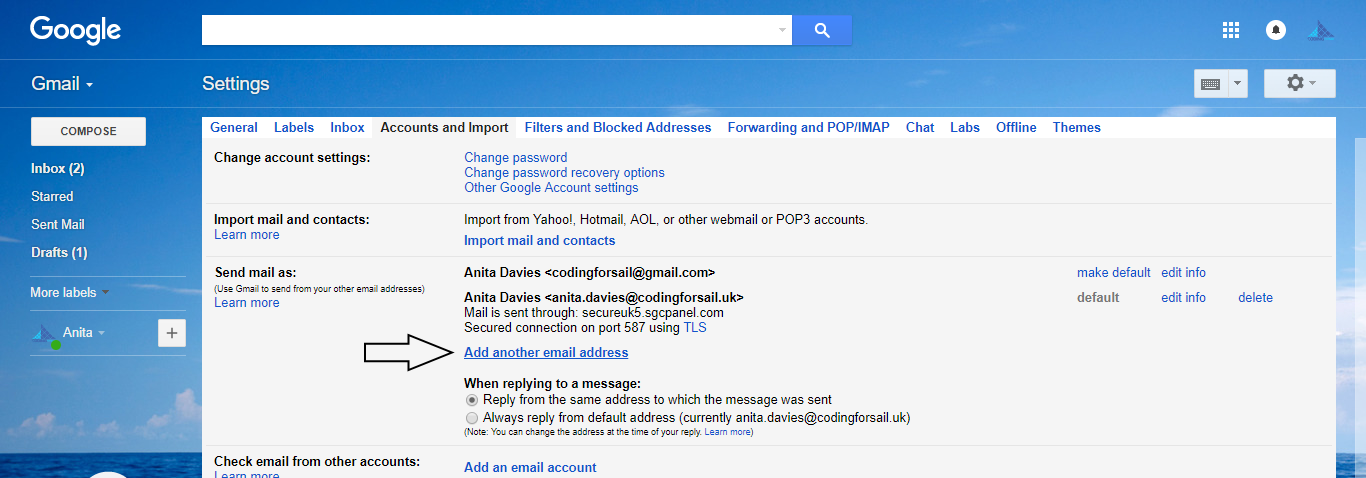
Scroll down to the part of the page that lists the Mail Client Manual Settings. The part we are interested in is the Recommended SSL/TLS settings, highlighted in a light-blue box (see above). In a new tab or browser window, go to gmail and log in to the account you want to link to your new email address. For these instructions, you need to be using the Desktop version of gmail.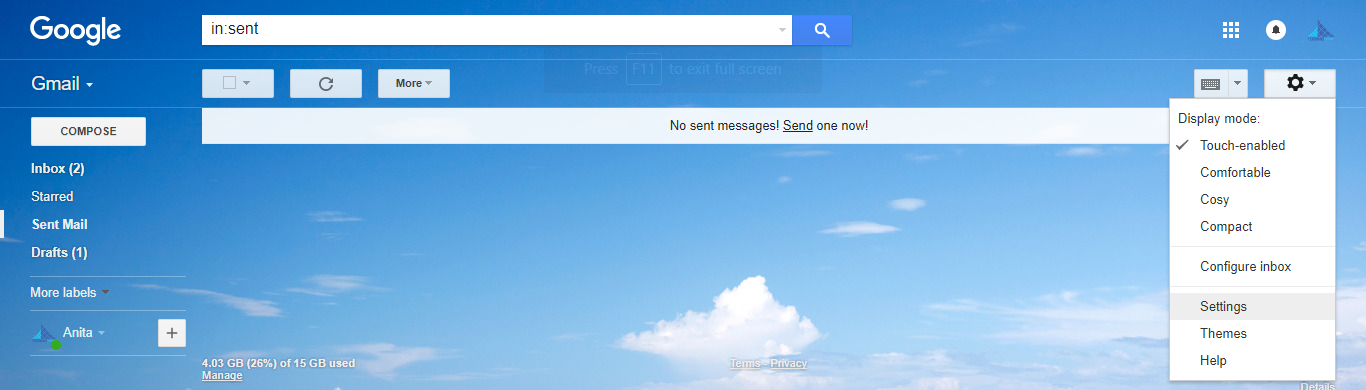 Click the Settings gear icon and then select "Settings" from the menu that appears. Then select "Accounts and Import". Look for the section heading "Send mail as:" and then click "Add another email address". This is shown by an arrow in the following image:
 This will open a new window:
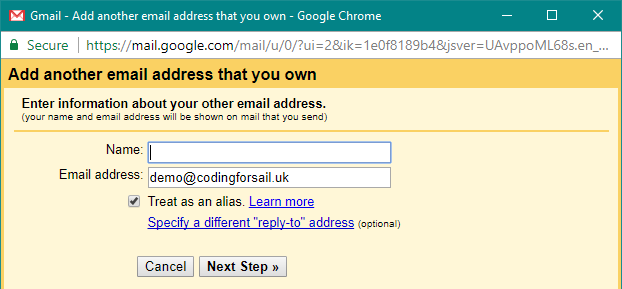 Enter your name and your new email address. You probably want to leave the "Treat as an alias" box checked.
Click Next Step.
Enter your name and your new email address. You probably want to leave the "Treat as an alias" box checked.
Click Next Step.
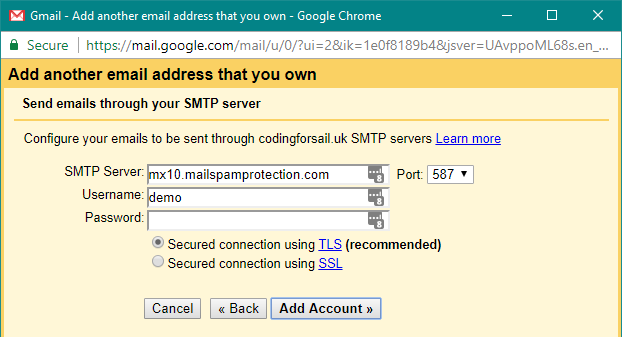 This is the important screen. When it shows, Google will have tried to guess the details for the fields. You need to replace what Google has guessed with the details from your mail configuration page (the Recommended SSL/TLS settings in the blue box).
 Change the following settings:
- SMTP Server to the value for the Outgoing Server
- Port to the value specified underneath the Outgoing Server
- Username so that it shows your full email address
- Password to the value you chose earlier.
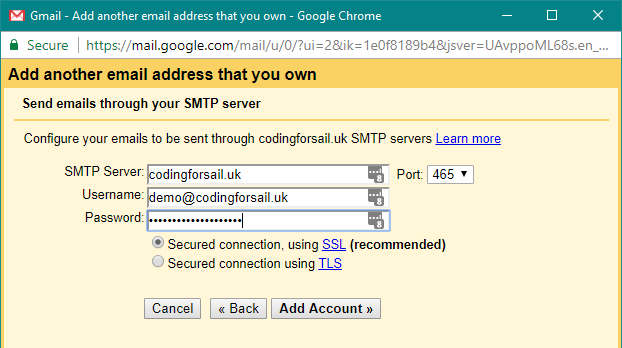 Make sure that the radio button for "Secured Connection, using SSL" is selected then click "Add Account>>".
Google will now show a new screen and send a verification email to make sure that you can access the account you have just added.
Make sure that the radio button for "Secured Connection, using SSL" is selected then click "Add Account>>".
Google will now show a new screen and send a verification email to make sure that you can access the account you have just added.
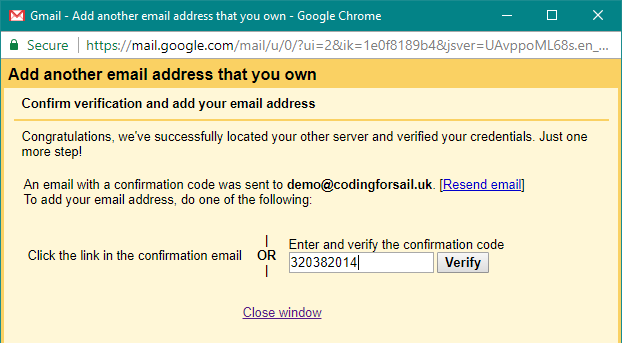
Nearly there...
As your new email address has already been forwarded to your Google account, this email should appear in your account. Enter the verification code in that email into the new screen then click Verify.That's all done. You should now be able to send email from your new email address using Google.